Submitting Text Content
Contents
Paratext provides the uploader client used for submitting scripture text content to DBL. The scripture text itself is maintained within Paratext by the translation or text maintenance team. The Paratext project includes different sections of configuration settings which supply a portion of the metadata required for submission to DBL. The Global Bible Catalogue (GBC) provides the remainder of the required metadata. Paratext validates the scripture text and the gathered metadata as conforming to the standards and syntax defined for a DBL ‘text bundle’.
The process of submitting text content to DBL involves the following steps:
- Ensure that all required Paratext project settings are accurate and complete.
- Ensure that all required Paratext checks have been completed and any issues are resolved.
- Add, edit, or verify that one or more Project Canons have been correctly configured.
- Verify that remaining project metadata is available, accurate, and complete in GBC.
- Create a DBL Text Bundle and submit it to DBL using the Paratext uploader.
Complete Required Paratext Project Settings
Click in the window of your project to make it the active window. Ensure that the following forms and fields are completed accurately in Paratext. For more information, suggested Paratext help topics are shown ().
- Full Name - Important to configure with a meaningful text, but note that the project Canon(s) configuration is where the end-user presentation form of the project name is added.
- Short Name - Also know as the text abbreviation. As with the Full Name, the project Canon(s) configuration is used to supply the end-user presentation form.
- Language - Search help for
language settings - Language Identifier - Search help for
language identifier - Versification - Search help for
versificationandcustom versification
- Reference Format - Required for accurate results from the References check. Search help for
reference format - Book Names - Required for accurate results from the References check. Also required for supplying vernacular book names and abbreviations to the DBL metadata for the project. These book names will be used for table of contents or navigation menus within a print product or a digital scripture application. Search help for
book names
- Reference Format - Required for accurate results from the References check. Search help for
Add, Edit, or Verify Project Canons
In Paratext, Project Canons are used to describe a listing of contents for a known publication of the scripture translation text. A publication may be for a particular audience (e.g. Protestant, Catholic or Interconfessional Bible), or for a selected portion of the entire translation (e.g New Testament). Contents are a collection of scripture books in a specified order. A Canon should be named as the intended target scope, even if that intended set of books is not yet completed or defined in the Canon definition (e.g. a “New Testament” Canon may be identified, but only have Mathew, Mark, and John listed as publishable books). A project may define more than one Canon, if the translation text includes content for multiple audiences (e.g. Protestant and Catholic).
Note
Canons definitions are converted into a contents element in the DBL text metadata which is supplied to an LCH partner. In this way, a list of known audiences and book order lists for presenting the translation (i.e. publications) are provided to a publishing partner. In addition, the LCH may be aware of the intended extent of a publication, even if all books are not yet supplied in the text bundle stored in DBL.
To add or edit Project Canons in Paratext, do the following:
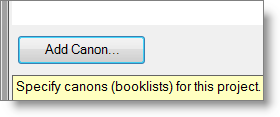
If no Canon has been defined for the project yet you will see an empty Canons dialog.

- Click on the Add Canon button near the bottom left corner of the dialog to add a new Canon configuration to the project.
Paratext will display the Add Canon dialog. In this dialog you can use the two drop down menus to help pre-configure the list and order of books from some known configurations, or alternatively click Start with Empty Canon. An empty canon will not have any books or book order selected.
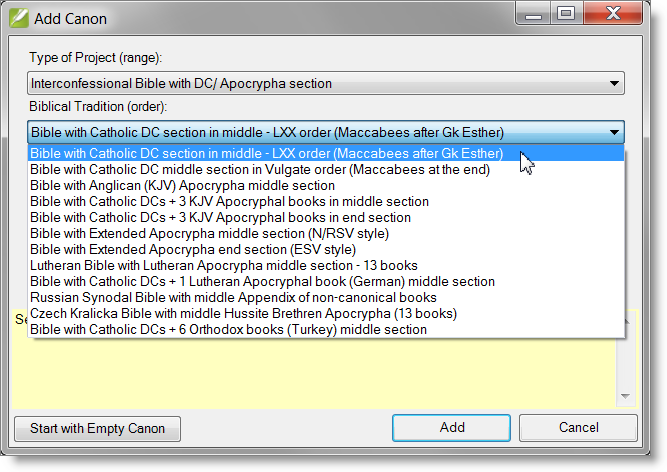
- Click Add. Paratext will display the Edit Canon dialog.
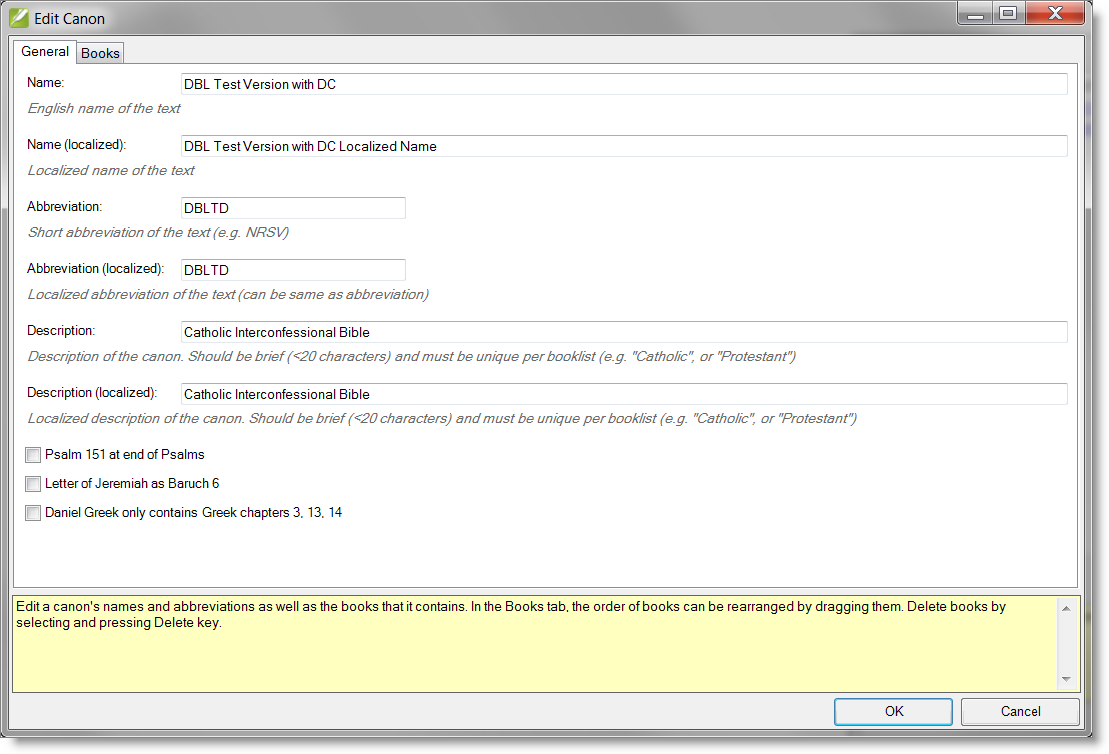
The definition for the Canon is separated into two tabs. In the General tab, supply the required naming and description texts for the Canon. The Description text is what may be used by a publishing partner to present to an end-user if multiple Canons are defined and there needs to be a means of distinguishing between them.
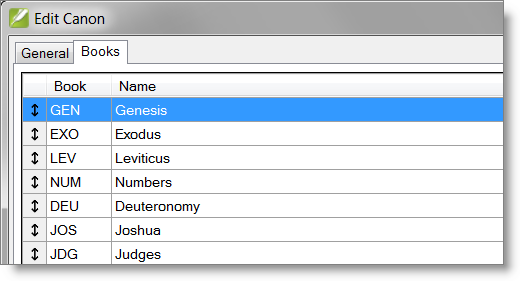
The Books tab is used to arrange the list of books in the proper order for this publication. The order of books can be rearranged by dragging them. Delete books by selecting and pressing Delete key.
Complete Required Paratext Checks
. The required checks are:
- Chapter / Verse Numbers
- Markers
- References
As a matter of proper care and validation of the project text, all available Basic Checks should be run, and errors corrected. Please see the various Paratext help topics on checking. Search help for checking and inventories, and consult with Paratext supporters if further assistance is needed.
When Paratext checks are run, if you need to resolve versification related errors, you should always attempt to describe the differences between the actual project versification seen in the text, and the ‘Versification’ setting for the project, using a custom versification file (custom.sty). In some more unusual cases, choosing to “Deny” an error is acceptable, but only when a resolution using custom.sty is not possible. Search Paratext help for custom versification.
Optional - Hold SHIFT and then
- Schema
Adding or Verifying Project Metadata in GBC
The Global Bible Catalogue (GBC) is a catalogue of generic metadata relating to published Scriptures and Scriptures in translation and the languages they represent. Metadata in GBC is needed for tracking the global progress of scripture translation work, and for supplying project metadata to digital archiving and publishing systems, like DBL.
Before you are able to create and submit a text bundle to DBL, you need to ensure that metadata for the translation project is present in GBC and accessible to the organization you are an Archivist member for (i.e. that your organization is specified as the Rightsholder Agency for the text).
GBC already contains a vast number of existing entries representing many expressions (publications) of a scripture text. Metadata for DBL entries up until the release of DBL 4.0 has also been imported into GBC. This means that most translation projects in DBL already have a corresponding metadata entry in GBC. However, at times, especially for new DBL submissions, a new entry may need to be created in GBC to store the additional project metadata needed for the DBL text bundle which is not provided from Paratext.
Go to: http://globalbiblecatalogue.org/
- Sign in with DBL credentials (you must have Archivist role within a DBL organization)
For further information on working within the GBC web interface to add or edit entries, see the additional topic on Working with GBC. Details on how to choose a GBC entry as a metadata source for the Paratext uploader is shown below.
Create and Submit the DBL Text Bundle
Authenticate with DBL
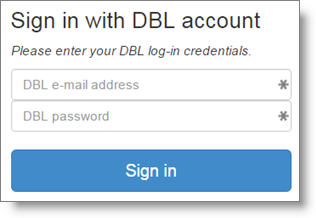
- Click the Change button beside the DBL Login field. A login form will be displayed.
- Enter your DBL login ID (email address) and password.
- If your user account is a member with Archivist role for more than one DBL organization, you may be prompted to select the organization you are intending to submit data to (see note below).
- Click Login.
Note
If the current project has been submitted previously from the same system, and you are a member with Archivist role for more than one organization, the uploader will automatically resolve which organization to submit to, based on which organization is rights holder for the translation text.
Choose a GBC Metadata Entry
- Click the Choose button beside the GBC Entry field. Paratext will query GBC and then display a window showing a list of GBC entries.
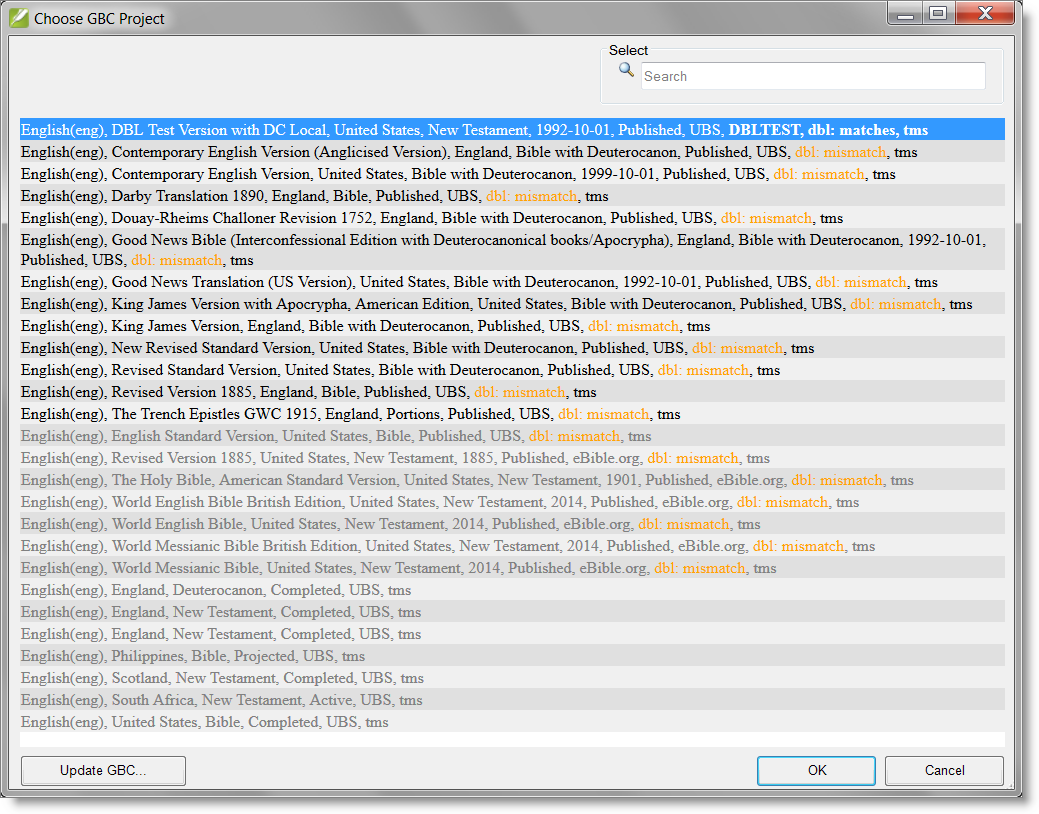
In the dialog used to Choose a GBC Project (above), Paratext automatically filters the list being displayed to a set of options which are viable metadata sources for the current project.
The list is limited to entries with a matching ISO code. Within this list the following entries are displayed at the top of the list:
- GBC entries which the currently logged in user has archivist/edit rights for.
- GBC entries which already have a DBL ID.
- GBC entries with a TMS ID.
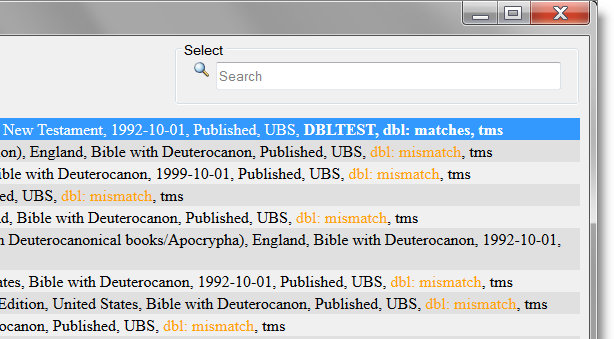
Select the GBC entry from the list which is the correct source for the current project’s metadata. If necessary, use the Search field to narrow the results.
If there is a GBC entry which already has a DBL ID field which matches the DBL ID for the current project, this entry will be automatically displayed and pre-selected at the top of the list. This condition will happen for most projects which were previously submitted to DBL by an archivist for the same organization as the current user.
Note
Determining Archivist/Edit Rights for GBC Entries: The uploader determines archivist/edit rights by checking for entries which specify a “Rightsholder Agency” for which the current user is a member with Archivist role. This archivist/edit right will also exist if the current user is an Archivist member for an organization which has been delegated Archivist role by the “Rightsholder Agency”.
The text for each line in the GBC entries list displays a summary of various metadata elements including: the language (ISO), name of the project, country, scope of the text, completion date, and the corresponding Paratext project name (if known).
Three additional indicators are provided. The text dbl: matches (in orange text) indicates that the DBL ID found in this GBC entry matches the DBL ID already known for the current Paratext project (this entry is most likely at the top of the list and pre-selected). The text dbl: mismatch indicates that the entry refers to content which is in DBL, but the DBL ID does not match the currently selected Paratext project. The text “tms” indicates that this entry also references a corresponding TMS (Translation Management System) entry.
Entries which match the ISO code for the project, but which the current user does not have editing rights for, are displayed in a greyed-out form at the end of the list and cannot be selected. They are shown in order to make alternatives visible which, for some reason, the current user is not specified as an archivist for. If this condition occurs, the reason for it should be explored and resolved since it indicates 1) a possible rights holder assignment error in GBC, or 2) a case where a user is attempting to upload a text for which their organization is not a rights holder or archiving delegate.
- Click OK on the Choose GBC Project form.
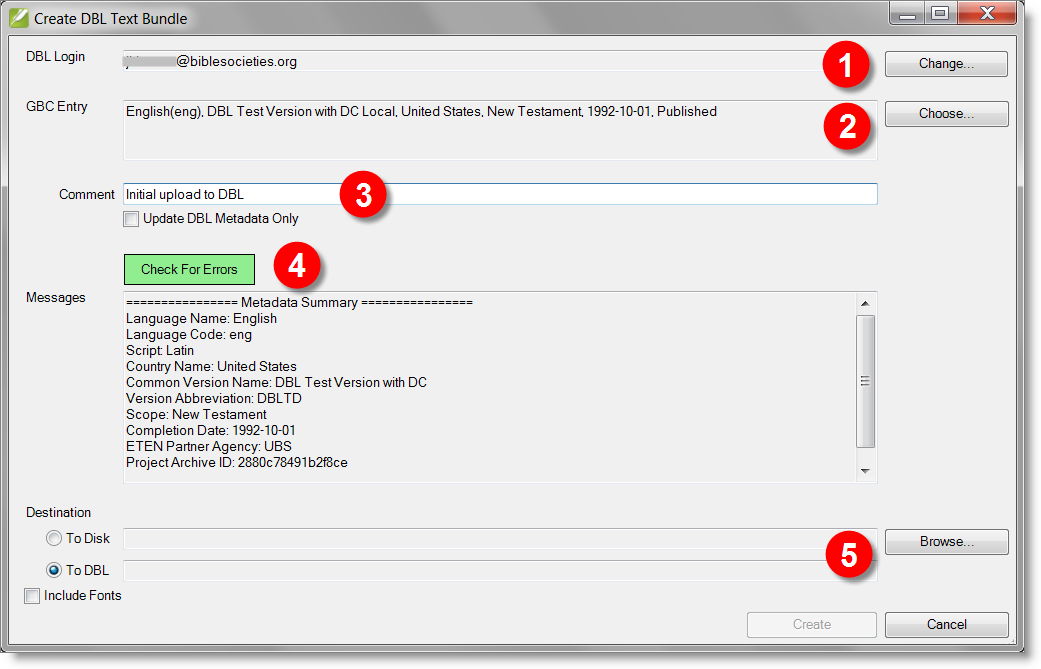
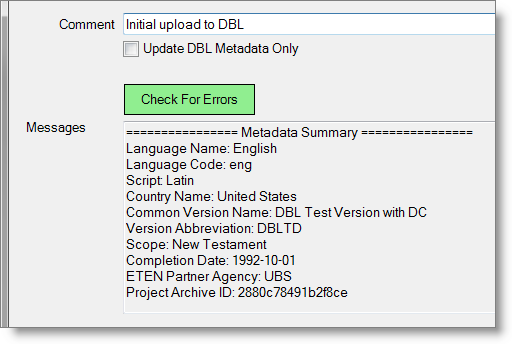
Paratext will query GBC to gather the project metadata. A metadata summary is displayed in the uploader “Messages” panel.
Comment
- Enter an appropriate Comment text for the current submission (this is required before final validation can occur). Once a comment has been entered, a green “Check for Errors” button will appear.
Check for Errors
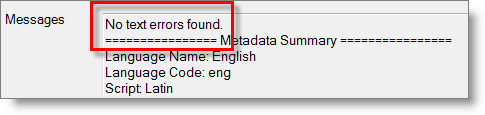
- Click Check for Errors.
Paratext will perform a procedure to validate the project text and the metadata against a schema (a schema is a precise definition of what is valid markup and text for all aspects of the data being prepared for DBL submission).
The results of the validation process are displayed in the Messages panel.
Send Text Bundle to DBL or Create on Local Disk
If the project is being submitted to DBL, under the Destination heading, select To DBL
- If you are only updating metadata in DBL, click in the checkbox beside Update DBL Metadata Only shown below the Comment field.
If the text bundle should be created and saved on the local disk instead, under the Destination heading, select To Disk. Click Browse to select a destination for the bundle to be saved.
Then
- Click Create
Paratext will create the source and release bundles and begin uploading them to DBL (or will save the text release bundle to the local disk, if selected). A progress bar is displayed at the bottom of the Create DBL Text Bundle window.

- Close the Create DBL Text Bundle window, when the upload has completed.